Next, decide on your applique pattern, drawing it onto paper and then cutting out.
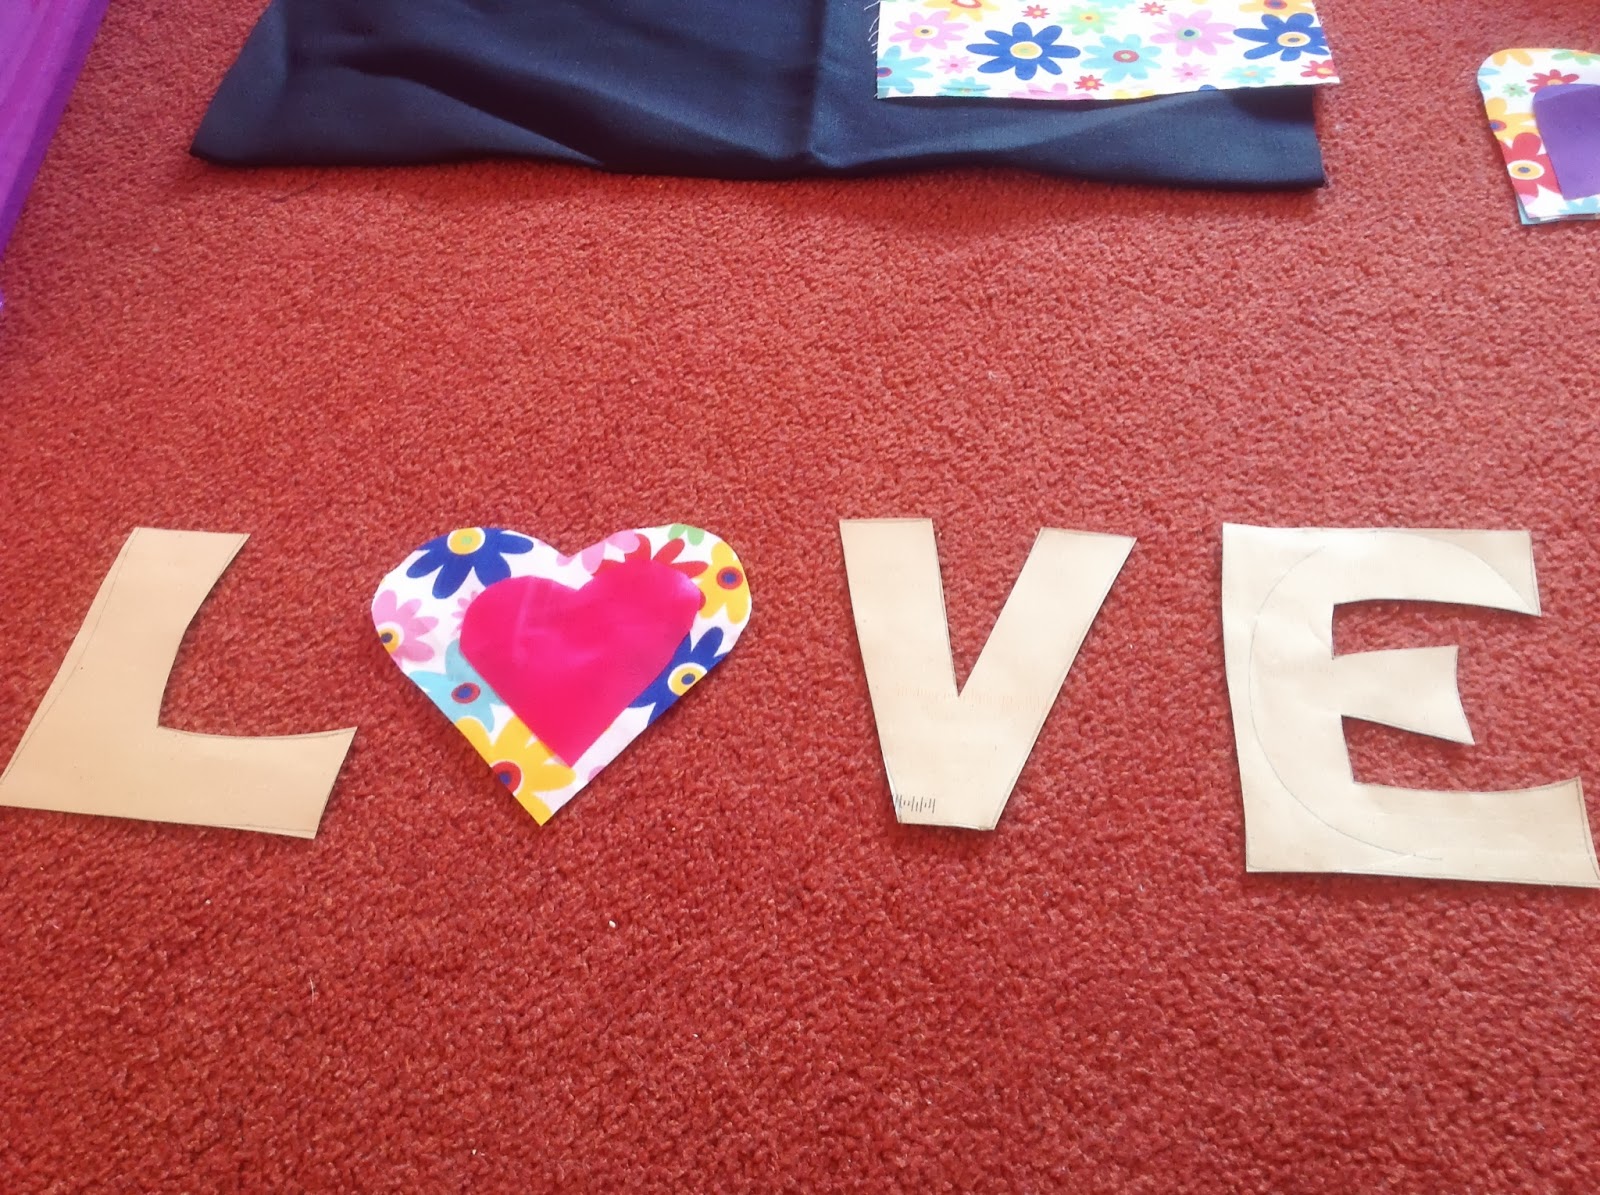
Use this to cut out the pattern on a contrasting material of your choice. I've chosen two different patterns - a beach hut and LOVE.
 Here they are after they've been sewn on the main fabric. I used a zigzag stitch on my sewing machine.
 If you want to add any embellishments, this is the time to do it as it becomes harder once the bag is sewn together. I've added buttons for the door handles, there will be ribbon added below and above the beach huts and the finished LOVE bag has a large button in the middle of the heart.
Next, place the right sides of the outer fabric together and sew around three sides, leaving the top open. Do the same for the inner fabric.

At this point, I made a box bottom. With the right sides together, fold the material so that the side hem is on top of the bottom hem. I promise you that this sounds more complicated than it actually is. I made a 2 inch box bottom, so I measured 2 inches from the top of the seam and then drew a line with tailor's chalk.


 Now, it's time to sew the bag together. Start just by one of the handles and sew over it three times to reinforce it, then carry on round, repeating this every time you get to a handle. Finish just pass the last handle so there is enough room to turn the bag right side out. Once you've turned the bag the right way, iron all the creases out and sew the gap together. I do this by sewing round the whole of the opening with a contrasting thread. And here is the finished bag.
I'm off to the theatre tonight as I've managed to bag some more free tickets and I might take my new creation with me for an outing. A perfect size for bottles of water and boxes of chocolate. I hope you all have a lovely day.
Awesome tote bag! Love all details!Thanks so much for sharing the great tutorial! Would love to have you visit me sometime.
ReplyDeleteHave a fabulous week!
Hugs from Portugal,
Ana Love Craft
www.lovecraft2012.blogspot.com
What a cute tote bag. Thank You so much for sharing on last weeks party. Hope to see more from you on my next party.
ReplyDeleteI like making a tote bags into something very fashionable for daily use. I like the tutorial.
ReplyDelete